|
|
Post by Woods Walker on May 18, 2006 21:53:54 GMT -5
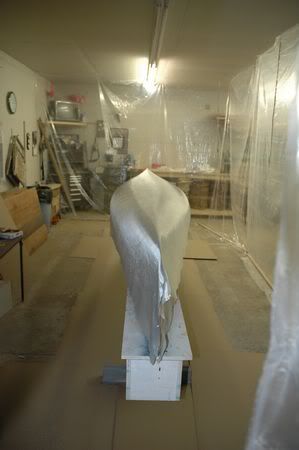
I'm going crazy waiting.....
We have had some rain around here the last couple of days. The rivers are open & the lakes are starting to soften. I want to get my solo done so I can paddle, but I am still waiting on my pumps. I wet the hull down today with water to raise the grain before the final sanding & now I am REALLY EXCITED to put the resin on.
Troy
|
|
|
|
Post by Woods Walker on May 18, 2006 21:54:24 GMT -5
FINALLY....... It took 20 hours, but I got the glass on the outer hull.
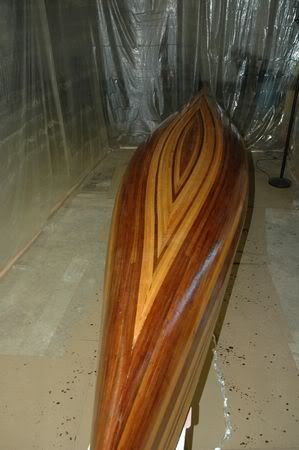
I few a few areas that need some attention after it is completly dry. Next pictures will be of the inside I think.
Troy
|
|
|
|
Post by Woods Walker on May 18, 2006 21:54:59 GMT -5
Fiberglassing went ok, no major issues.  I have some runs that scraped off pretty easy & I am now sanding the hull smooth. I have some runs that scraped off pretty easy & I am now sanding the hull smooth.
The only thing the DVD lacks is to show you how to handle little problems, like small air bubbles or when to sand the bias cloth placed on the bow & stern stem areas. & how to remove runs. It was a good video, but they could improve on it.
I would call it time consuming, but not overly difficult. There is no need to precoat the hull, if you filled the bigger gaps already.
My biggest problem was when the lights directly over the canoe went out for some reason & wouldn't come back on. It was after midnight, I was tired & had to finish my 3rd coat while holding a flashlight.  No wonder I had a few more runs than expected come daylight. No wonder I had a few more runs than expected come daylight. 
Its all good though & I hope to be working on the inner hull this weekend. If I have time.
Troy
|
|
|
|
Post by Woods Walker on May 18, 2006 21:55:36 GMT -5
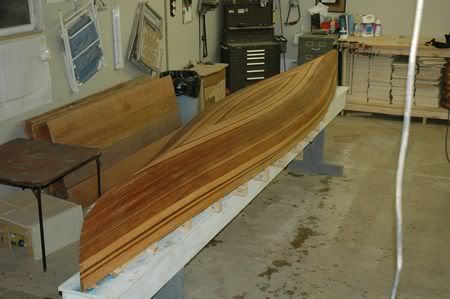
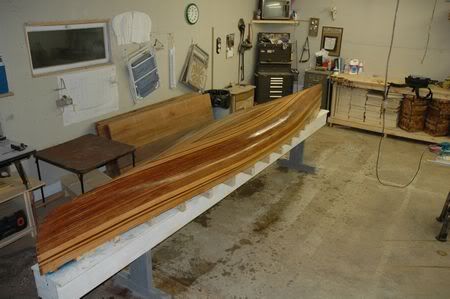
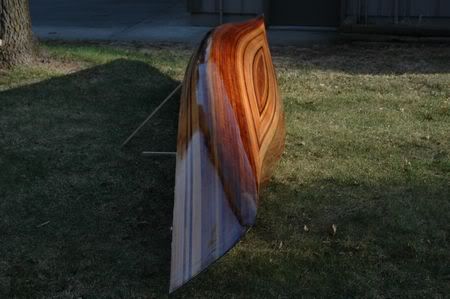
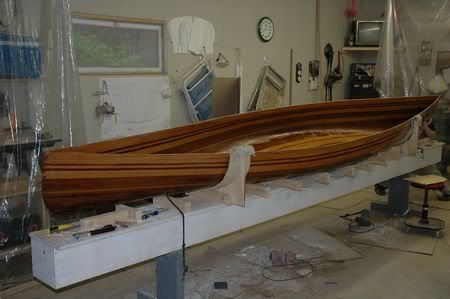
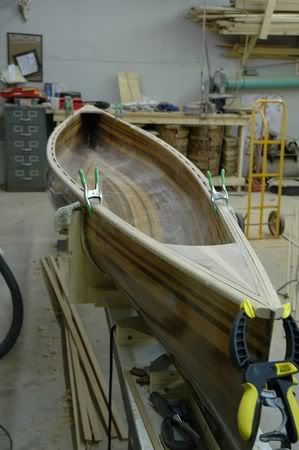
 Its off the forms ;D Its off the forms ;D
I just had to snap a few photos while it was sitting in the yard.
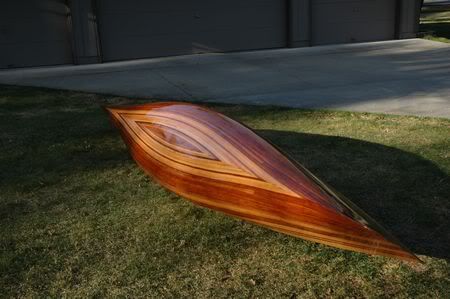
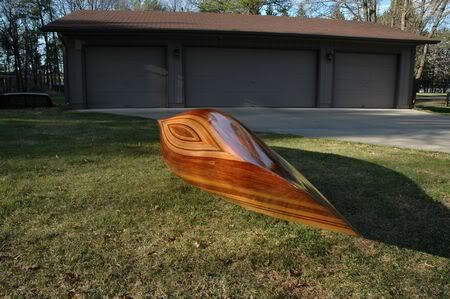
Now the real fun has started the inner hull
After finishing the outer hull, its sad to look at all the work left inside
Troy
|
|
|
|
Post by Woods Walker on May 18, 2006 21:56:07 GMT -5
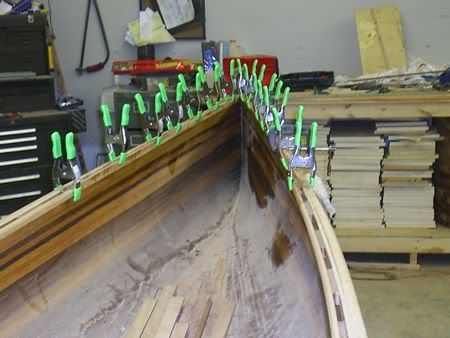
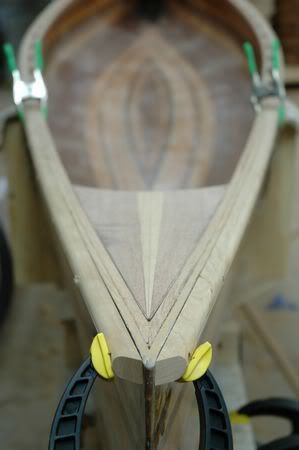
After a few days of scraping & sanding to fair up the inner hull, I am finally ready to glass the inside.
I layed out & cut the fabric to fit the night before, so I would be ready to wet out the glass with the epoxy resin in the morning.
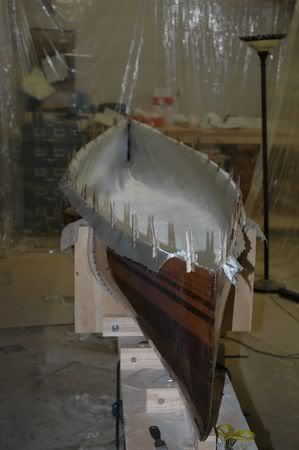
The fabric is held up in place with some cloths pins.
Troy
|
|
|
|
Post by Woods Walker on May 18, 2006 21:56:35 GMT -5
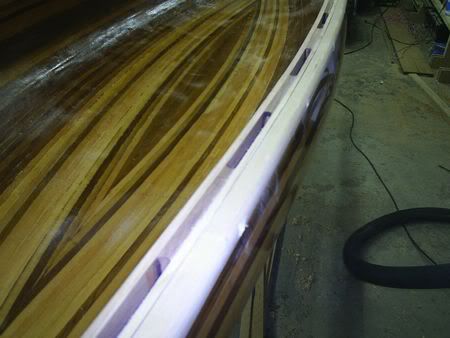
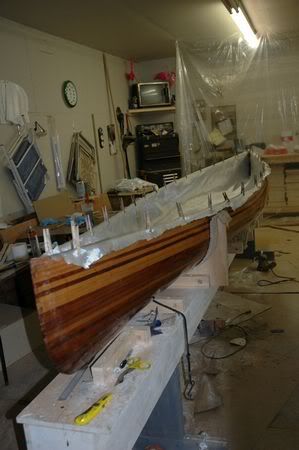
;D ;D ;D FINALLY ;D ;D ;D
I got the inner hull glassed
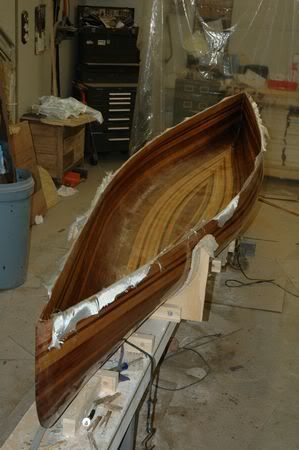
The next morning after trimming the escess fabric
Troy
|
|
dan
New Builder

Posts: 21
|
Post by dan on May 19, 2006 12:43:39 GMT -5
Looking good Troy, I managed to create an account, hopefully I can remember my login name.  Seems like every BB requires something different. Anyway, I haven't made much progress lately on my project. Still need to find gunwale stock. Dan |
|
|
|
Post by sedges on May 19, 2006 14:16:26 GMT -5
Sure is a pretty boat. Hope you get some pretty weather to paddle it the first time. Looking forward to the pictures.
|
|
|
|
Post by Vance in Ak on May 19, 2006 14:30:15 GMT -5
That's beautiful Troy, & for someone like me that's never built a boat, or even seen one built, it's neat to be able to see all the steps in order. Gives me an idea of what I may be getting into someday!
Thanks.
|
|
|
|
Post by Woods Walker on May 20, 2006 22:37:54 GMT -5
|
|
|
|
Post by jesben on May 21, 2006 11:31:09 GMT -5
Troy
Nice job, can't wait for the reports on the maiden voyage, good luck.
|
|
|
|
Post by Woods Walker on May 21, 2006 21:32:56 GMT -5
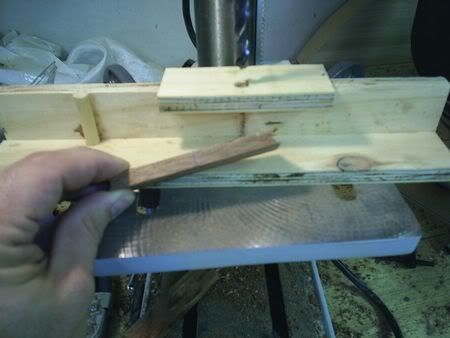
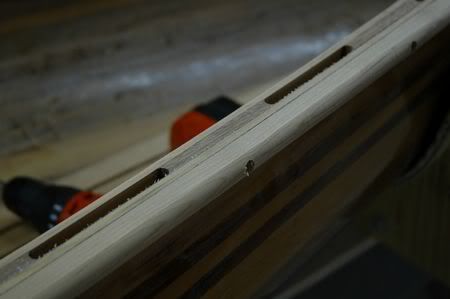
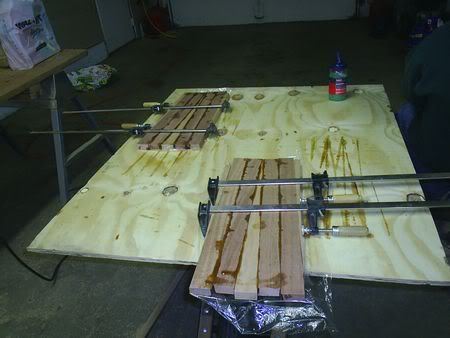
Had time to work on the decks today ;D
I fitted the decks to the hull & then laid out the arch that I wanted.
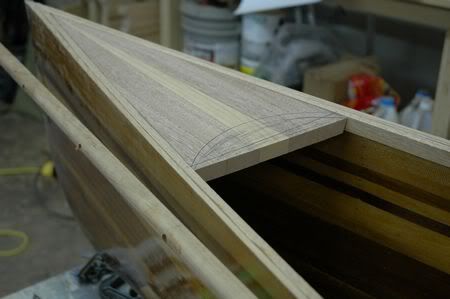
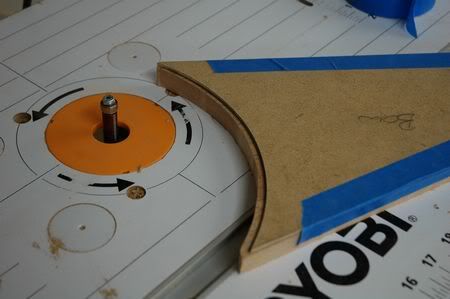
I then cut the decks out close to the lines, made a hard board template guide & used the router table to true the arch.
Here is what the Bow looked like.

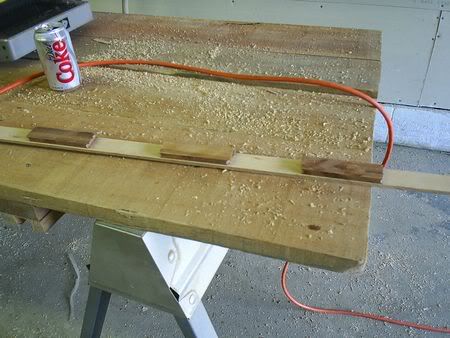
And the Stern
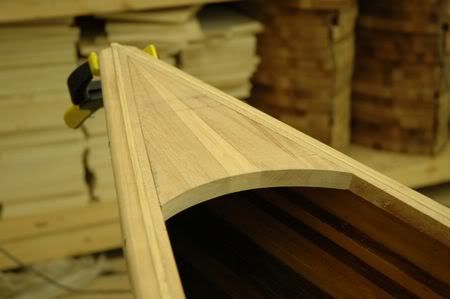
Everything dry fit into place
Tomorrow I hope to epoxy everything in place. ;D
Troy
|
|
dan
New Builder
Posts: 21
|
Post by dan on May 22, 2006 7:58:06 GMT -5
Hi Troy,
Looks like your making progress.
A comment.
I strongly recommend that you reconsider glueing the rails and decks in, and screw them in instead.
All/most 1st time builders form the opinion that glueing them in is best (myself included), but that makes any work you might have to do to them later much harder. I would love to make some changes to my first 2 boats, but probably won't just because the rails are glued in, making it a much larger job. Any boat I build now will have screwed in rails and decks.
Dan
Another tip, when fitting the rails and deck, to get tight joints, loosely clamp/hold the joint together and pull folded over sandpaper between them. With some time, the joint will become a fine line.
|
|
|
|
Post by kc5gxl on May 22, 2006 11:23:23 GMT -5
Great construction photos and dialog! Very informative. Thanks for sharing it with us. Looking forward to the next installation.
Calm waters,
Dan Harriman
Orange, Texas
|
|
|
|
Post by Woods Walker on May 22, 2006 19:55:00 GMT -5
I strongly recommend that you reconsider glueing the rails and decks in, and screw them in instead. Dan
I originally was just going to attach the gunwales & decks with screws & cleat the seat to the inner hull until talking with Al Gustaveson at Northwest Canoe. He recommended not cleating the seat, because of the bigger risk of hull damage & with the tumble home it would be really difficult to attach them.
So I am going to hang the seat from the inwale. I am a big guy who always doesn't sit down real soft.... I question the strength of the screws stripping out. Having the gunwales loosen on a trip in the middle of the BW/Q scares me. I have taken my time to make the gunwales & decks the way I pictured them & am pretty happy with them, so I am still thinking I will epoxy them in place.
Thanks for the tips, can I ask you what you would change if you could remove the gunwales easier?
Troy |
|


 When you go through deep waters, I will be with you... Isaiah 43:2[/color]
 I have some runs that scraped off pretty easy & I am now sanding the hull smooth.
 No wonder I had a few more runs than expected come daylight.
 Its off the forms ;D